

Commissioning Instructions
Before the screed goes down
Filling and venting the system
The system must be filled with water and fully vented of air. This can be best achieved using mains pressure through the two filling valves at the end of the manifolds.
Connect the hoses
All valves should be closed and the flow filling valve connected with a hose to the mains water supply, with the return filling valve connected to a hose laid to a wastewater point.
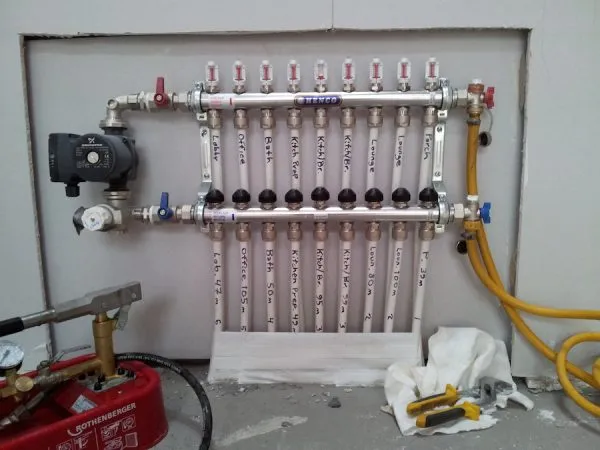
Filling the manifold on site Purge the loops
One by one the flow and the return valves are opened and closed purging the loops of air.
Run the pumps, then vent again
When this is completed and the filling valves closed off, the pumps should be run for five minutes and the air vented again at the air bleed valve on the filling valves until all air is bled from the system.
Individual room control
The manifolds are supplied with options for individual control for each room. On the return manifold (the blue caps), actuators can be mounted for individual control. If a programmable room thermostat with a two port valve is controlling the system and there is no individual control, the “blue caps” should be left open.
Balancing the loops
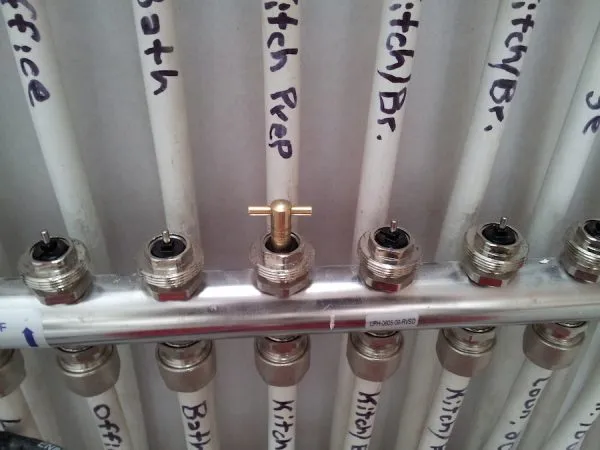
The flow manifolds are supplied with flow gauges. To adjust the flow gauges, use the key provided with the manifolds. See instructions included in the manifold box on how to adjust the flow meters.
The following is an approximate guide, as how far each loop should be adjusted;
| Size of loop | Percentage open |
|---|---|
| 10 – 30 metres | 30 % open |
| 40 – 60 metres | 50 % open |
| 60 – 90 metres | 75 % open |
| 90 – 100 metres | 100 % open |