Low profile ‘overlay’ underfloor heating installations
Introducing you to our chosen low profile underfloor heating product.
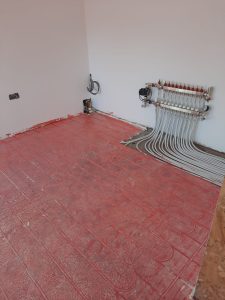
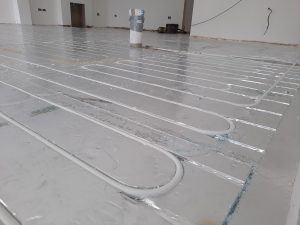
Recent overlay ufh installation in Broadway, Worcestershire.
20 mm panels grooved at 150 mm centres for 150 mm pipe spacing. With 200 micron these panels are solid. Use a router to add additional grooves – typically this is necessary nearer the manifold at least and with larger floor areas.
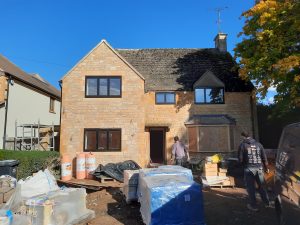
Low profile overlay underfloor heating panel systems heat up quickly and are ideal for renovation projects, or in fact almost any project that isn’t a new build. Hence this solution is also called retrofit ufh. Although the installation method can be more expensive and time consuming, due to the popularity of ufh in existing (older) houses in the last decade or so this solution has become increasingly popular.
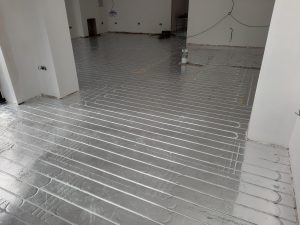
The existing concrete floor needs to be made flat and smooth, typically with self levelling laid over then left to dry. The ufh installers will then arrive on site to prime the floor (with e.g. MSP Multisurface Primer that we supply). Once dry (let it dry overnight) the panels can then be laid down – this stage is called a dry fit so do not glue them down until you’re happy with all panels.
Once happy you can then proceed with fixing them down with glue. This can be either tile adhesive or other glue that bonds polystyrene. Then add more grooved using a router. A knife or other tool may be used by DIYers but the result will never be as good as when using a router. The nearer the manifold you get, the more additional grooves will be required. You can fill the unused grooves with expandable foam spray – this will save on self levelling (if used).

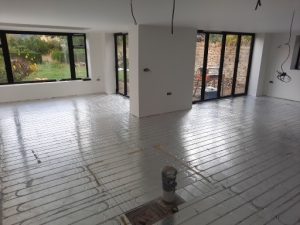
Next the pipes will be installed and finally another layer of primer is to be laid over.
As always, leave it to dry and also remember to do the pressure test of the manifold and ufh pipeowork.